Customising the macOS Finder toolbar is a great way to personalise your workflow and make accessing your most frequently used tools and features more convenient. With just a few simple steps, you can tailor the toolbar to suit your specific needs.
By following the simple steps outlined in this iChumz article, you can easily tailor the toolbar to suit your specific needs. In addition to customising the toolbar, you can also add apps to it for even greater convenience.
Table of Contents
Customize the Finder window toolbar
The Finder toolbar on macOS can be easily customised. Here’s a step-by-step guide on how to do it:
- Open Finder App on Mac.

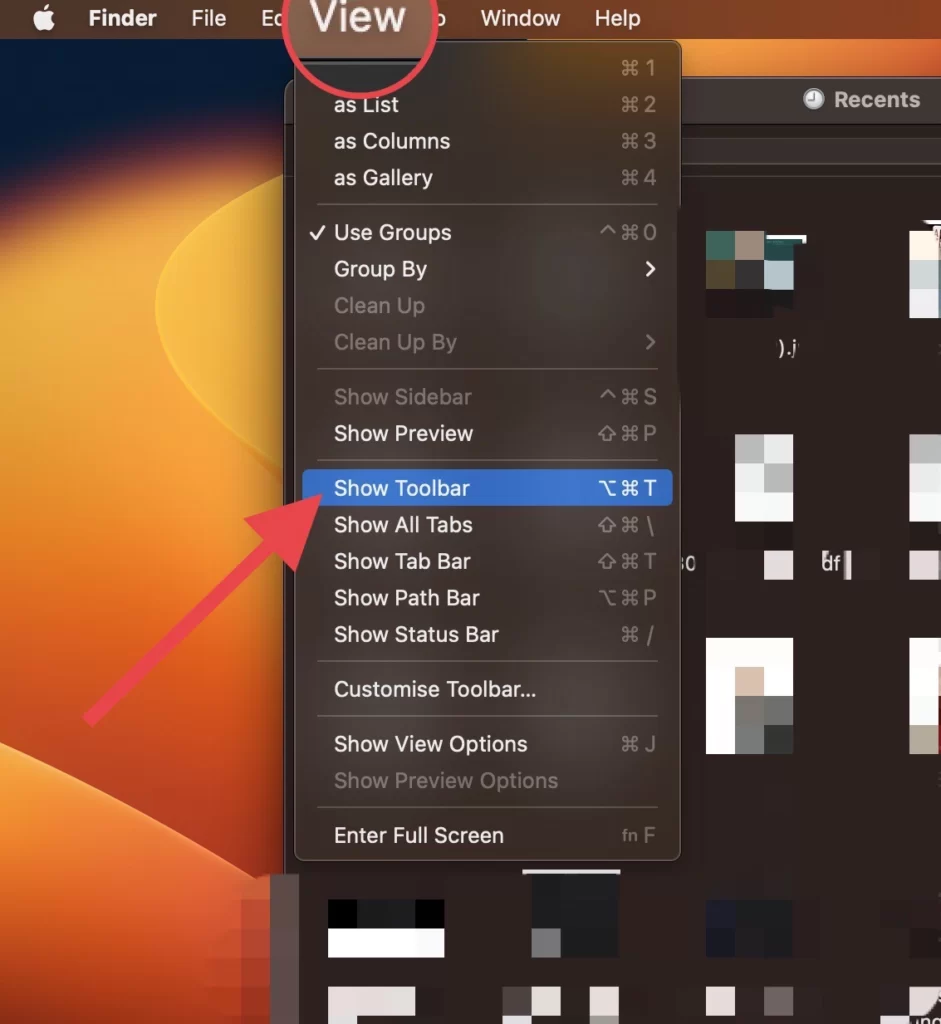
- If the toolbar is not visible in Finder, then go to the View menu bar and select the Show Toolbar option.
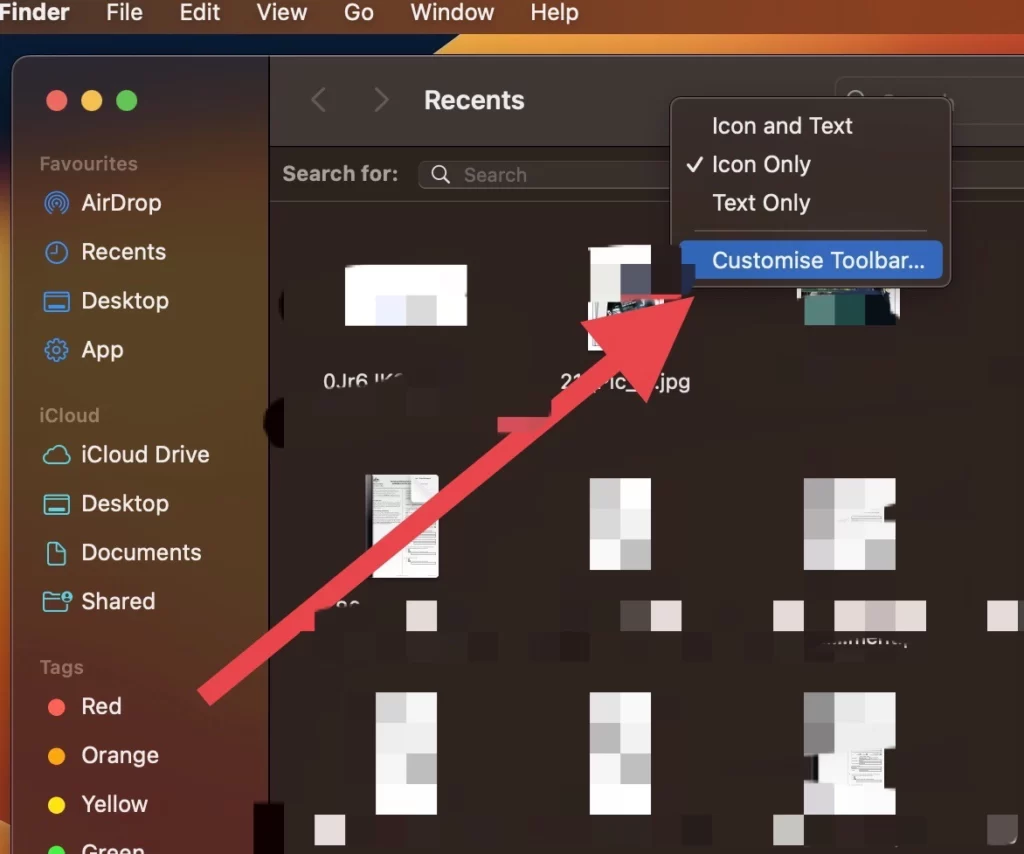
- Next, do a control-click on the toolbar, and a contextual menu will appear.
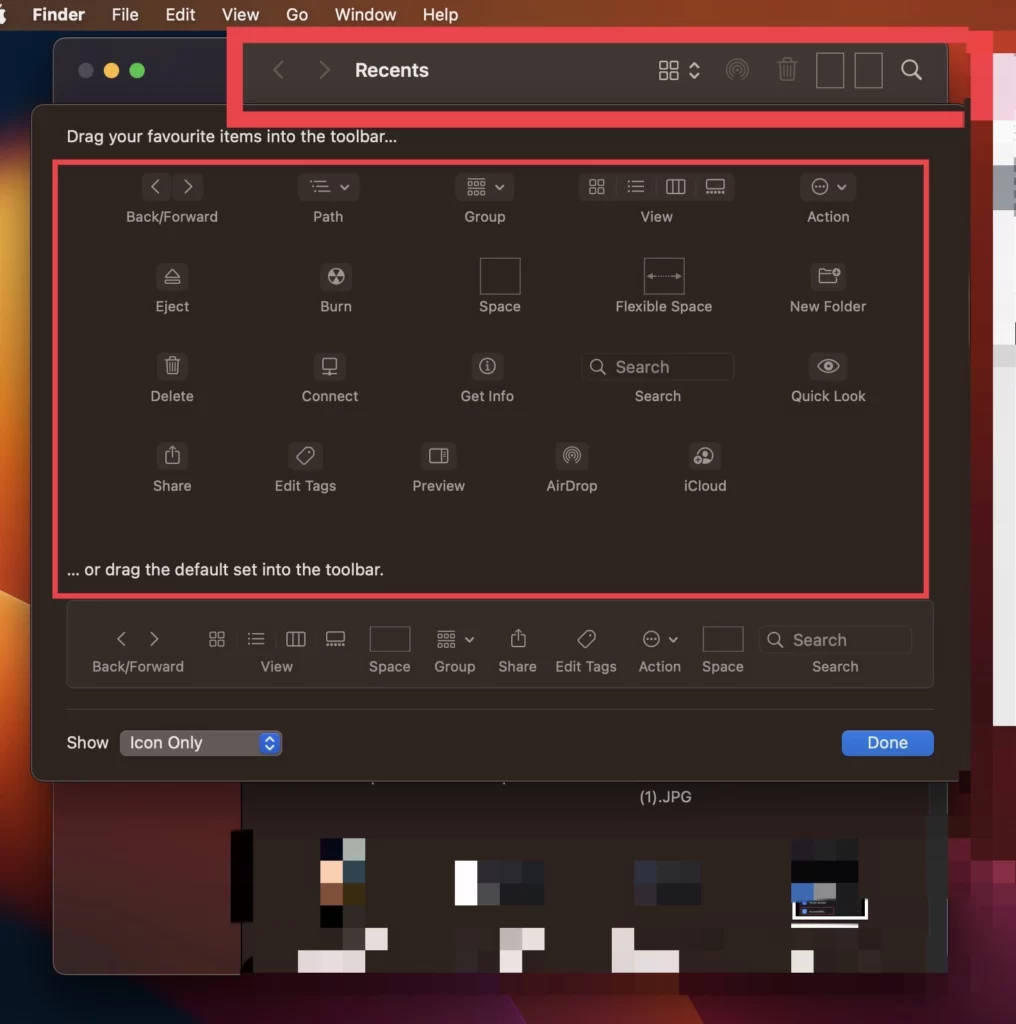
- Now select Customize Toolbar, and the customization mode for the Finder toolbar will be opened.
- Now you’ll see a collection of buttons and icons that you can add to, remove, or rearrange from the toolbar.
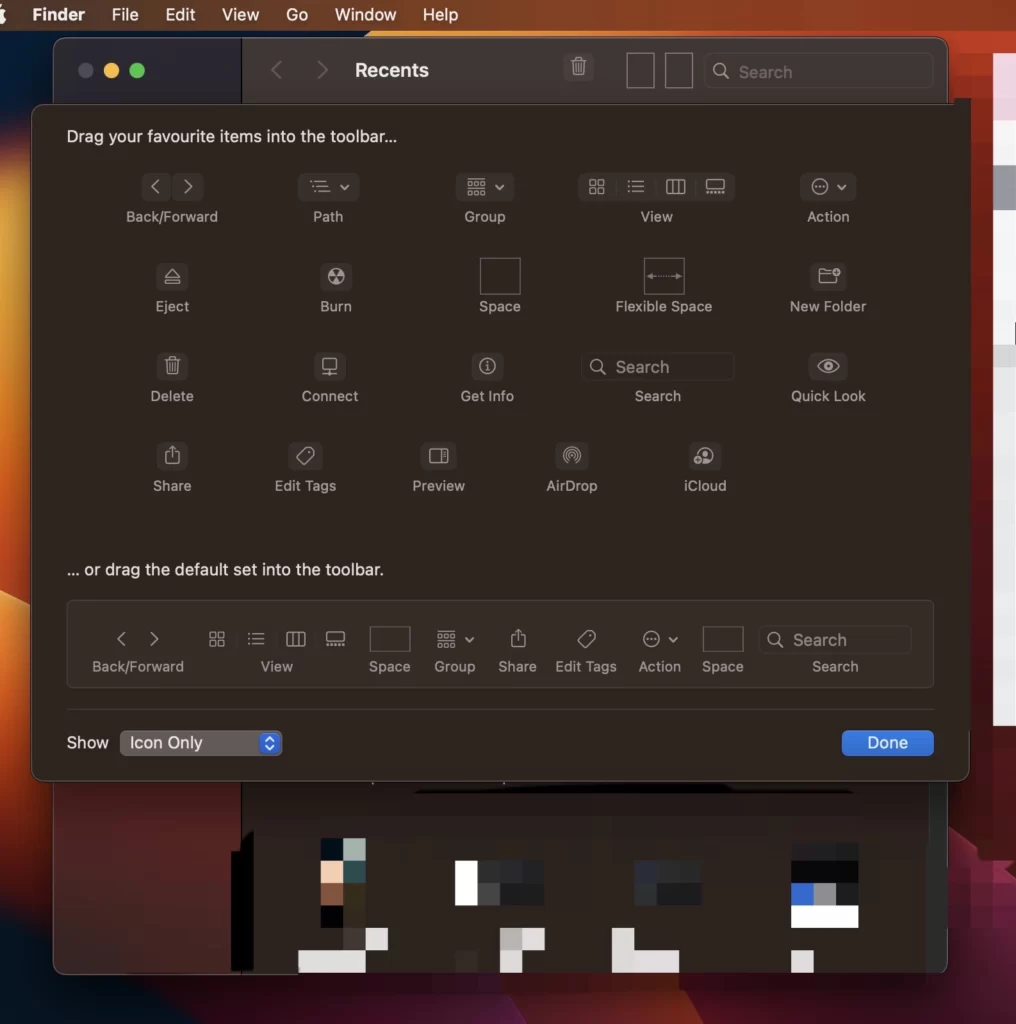
- Drag an item from the customization window to add it to the toolbar.
- To remove an item from the toolbar, drag it out of the toolbar into customization mode.
- Once finished, exit the customization mode by clicking Done or closing the window.
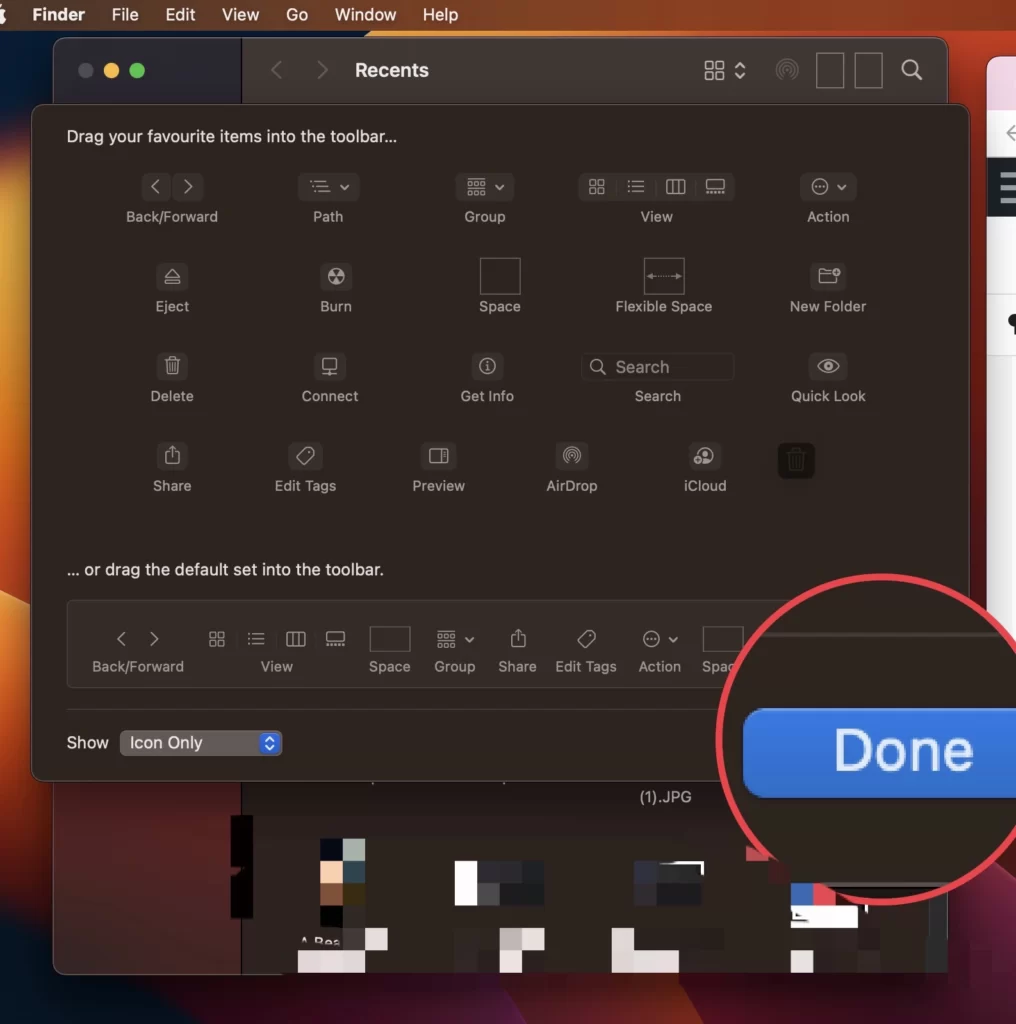
That’s it! You have successfully customised the macOS Finder toolbar to suit your preferences. The changes you make will be applied to all Finder windows on your Mac.
Add apps to the macOS Finder toolbar
To add applications to Finder toolbar follow the steps mentioned below.
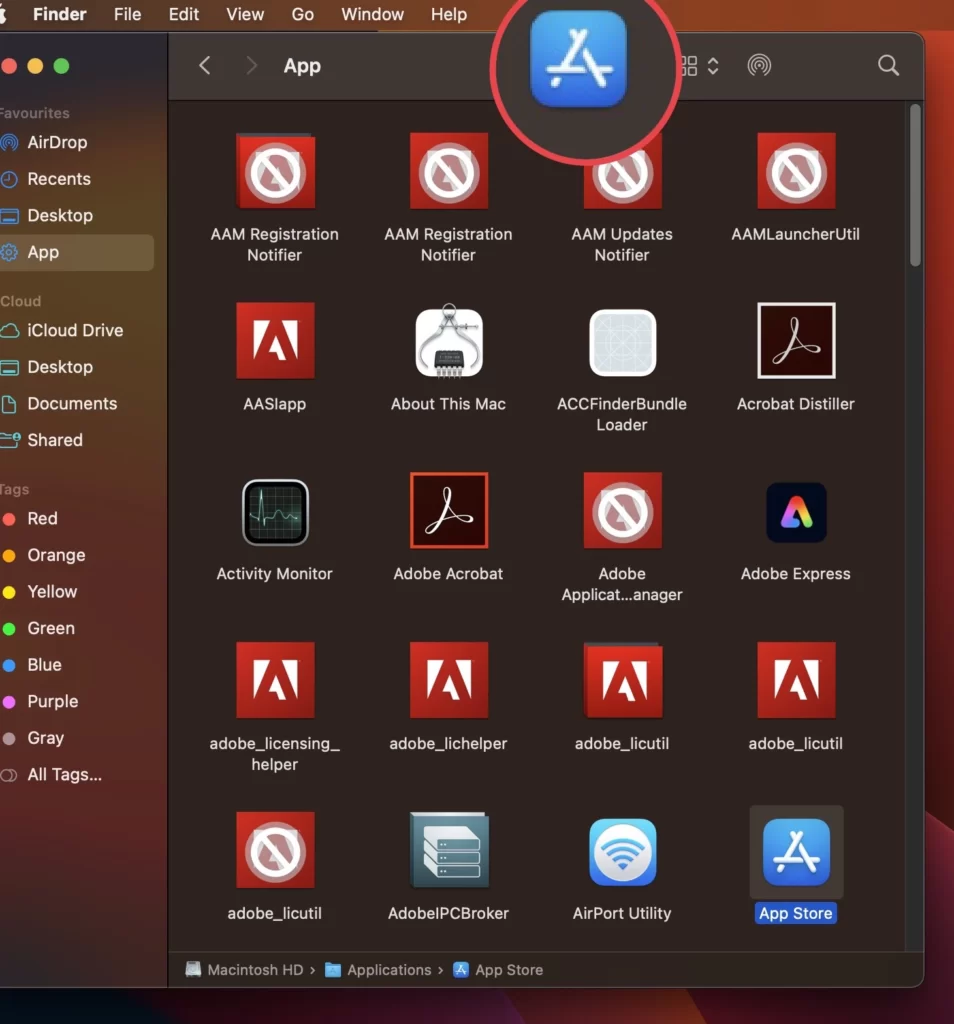
- Go to Finder and tap on Application or App.
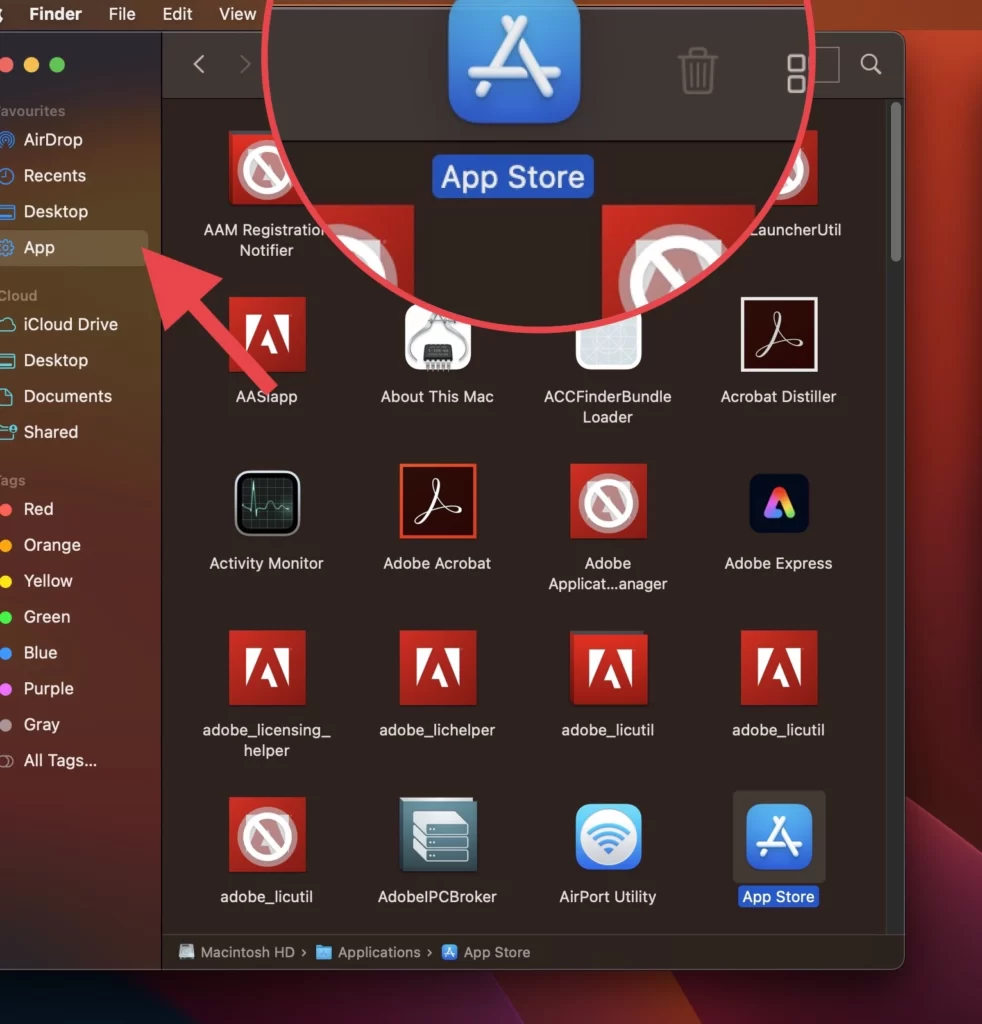
- Next, hold down the Command button on the keyboard and drag the app you want to add to the Finder.
- You then see the recently added application you added to the Finder toolbar.
Conclusion
These were the steps to customise the finder toolbar and add apps to the toolbar for easy access. With this feature, you can quickly access your frequently used applications and other actions without having to search for them.
Read also: