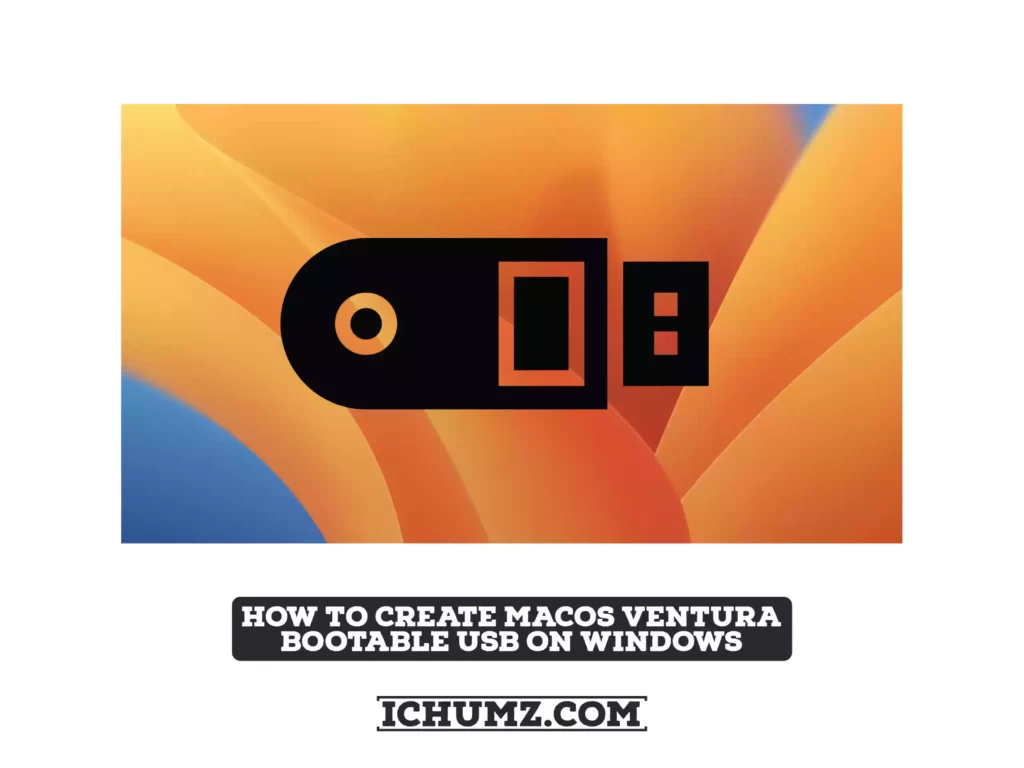
macOS Ventura is Apple’s most recent operating system, with many cool features and functions. So, if you’re curious about it and want to try it out, install it on your Mac. You can either update your Mac directly or create a bootable USB of macOS Ventura and install it via USB.
In some cases, creating a macOS Ventura bootable USB can be extremely beneficial. First, macOS Ventura can be installed on more than one Mac without downloading it again or connecting to the internet. Second, you won’t have to worry about the download becoming stuck when performing a macOS upgrade. Third, you can easily boot from a USB drive if your Mac running macOS Ventura fails to boot or performs poorly.
You can create a macOS bootable USB on your Mac. However, if your Mac is not working, you can easily create a bootable USB for macOS Ventura on Windows. In this article, I will show you how to create macOS Ventura bootable USB on Windows 10 or 11, which you can use to reinstall, upgrade, or repair your macOS.
Things required:
1. macOS Ventura DMG file.
2. Transmac for Windows PC.
3. A 16 GB or more flash drive.
4. A Windows PC.
How to Create macOS Ventura Bootable USB on Windows 10/11
Following the steps below on a Windows PC, you can make a bootable USB installer for macOS Ventura. If you have any important data stored on the USB drive, please back it up before erasing it.
Step 1. Download and install Transmac on your Windows PC.
Step 2. Connect the USB drive (at least 16 GB) to your computer.
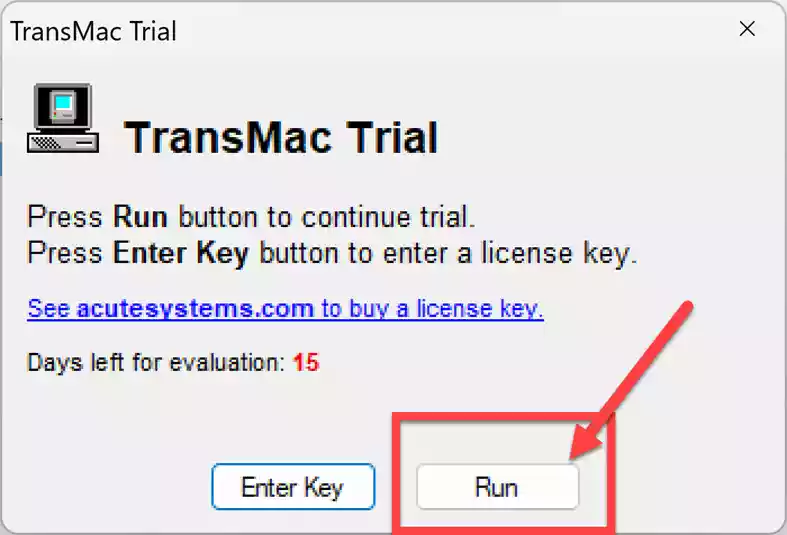
Step 3. Open the Transmac app, and select Run to continue.
Step 4. Right-click your USB device and select Format Disk for Mac.

Step 5. Then, when prompted, click Yes.
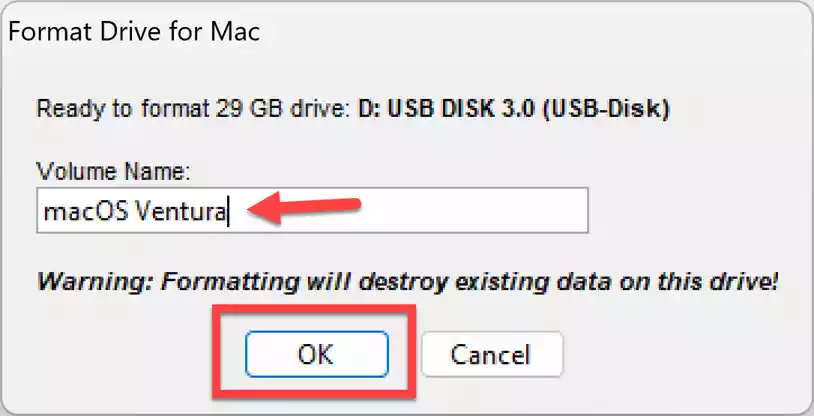
Step 6. Enter the Volume Name and click OK.
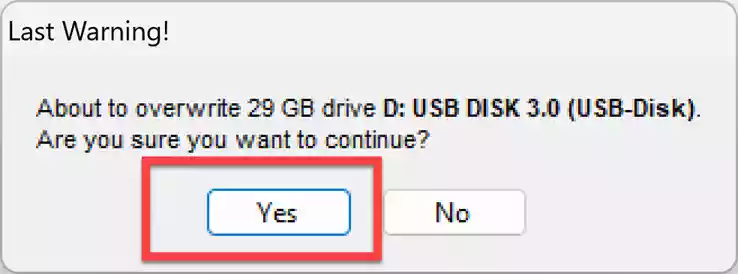
Step 7. Then, click Yes twice.
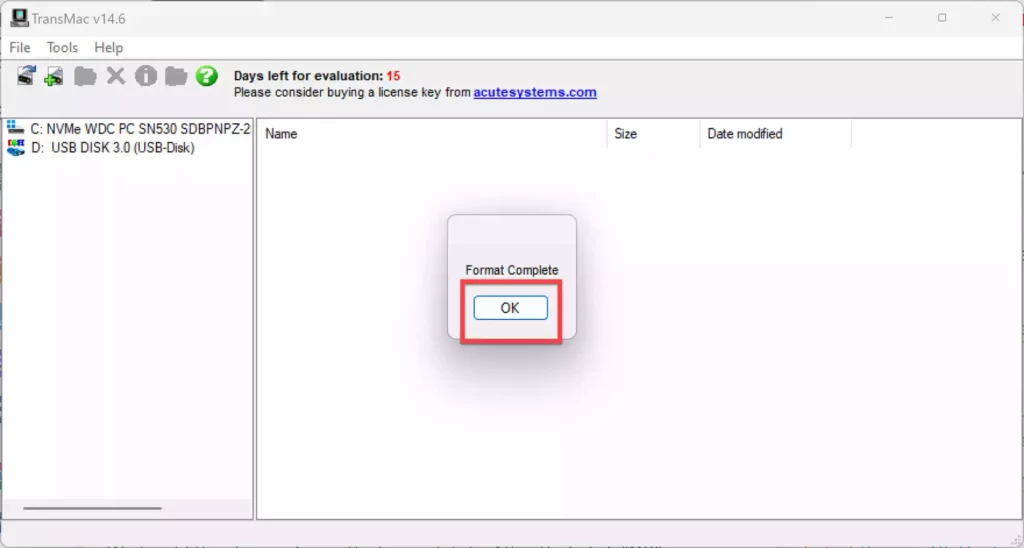
Step 8. Click OK once the drive has been completely formatted.
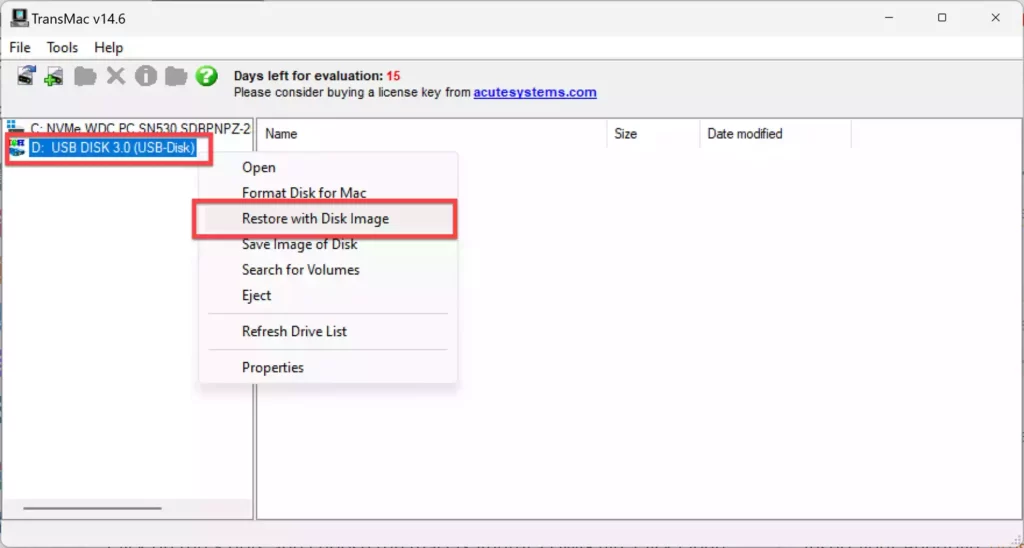
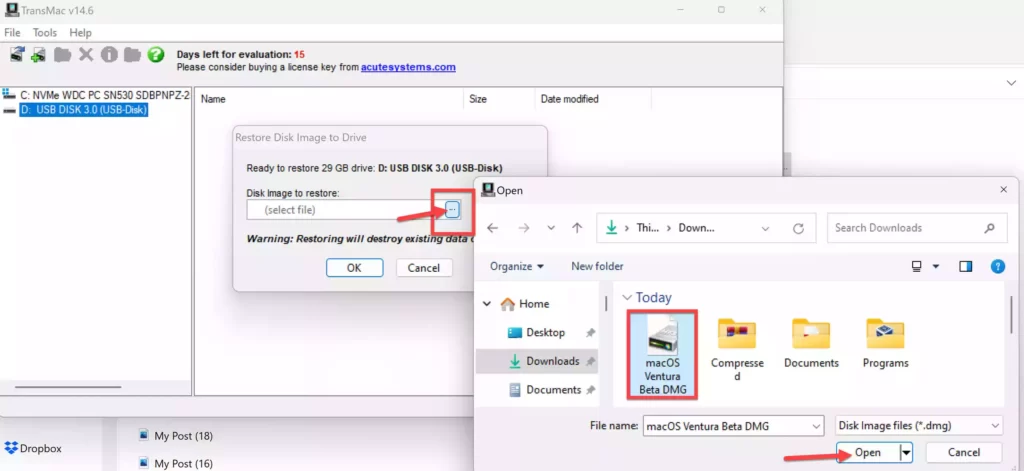
Step 9. Right-click your USB device again and select Restore using Disk Image.
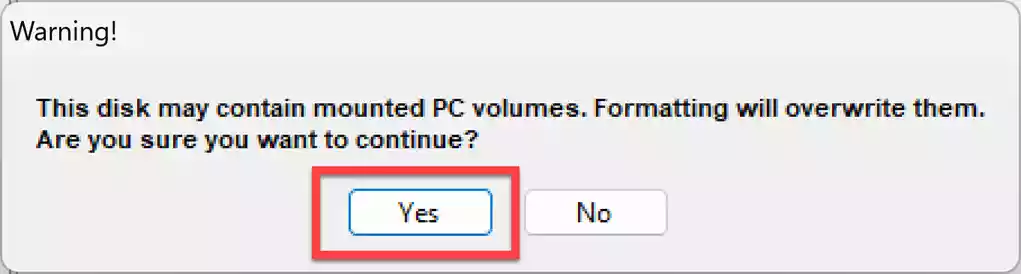
Step 10. Click Yes in response to the warning.
Step 11. Click the 3 dots, and open the downloaded macOS Ventura DMG file.
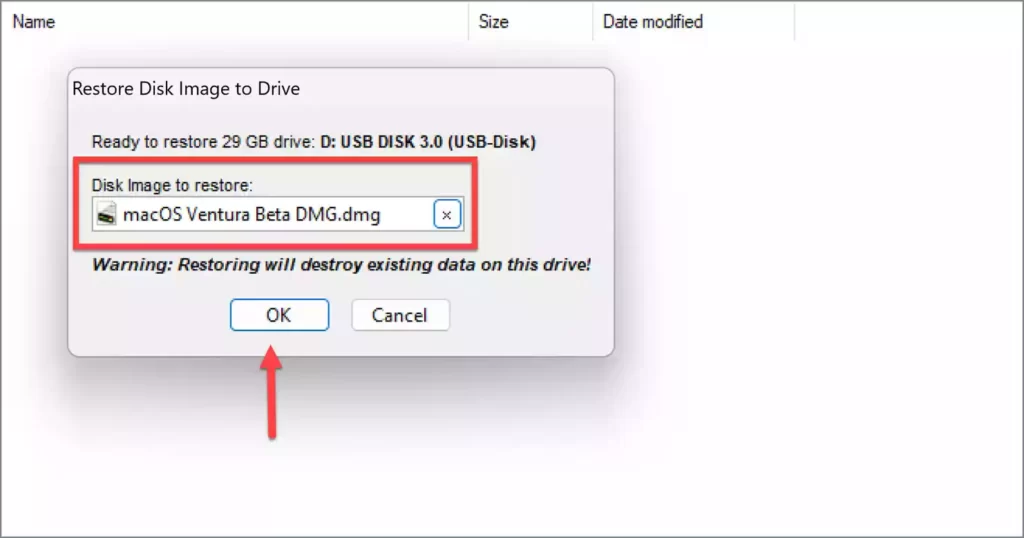
Step 12. When you’re done, press the OK button.
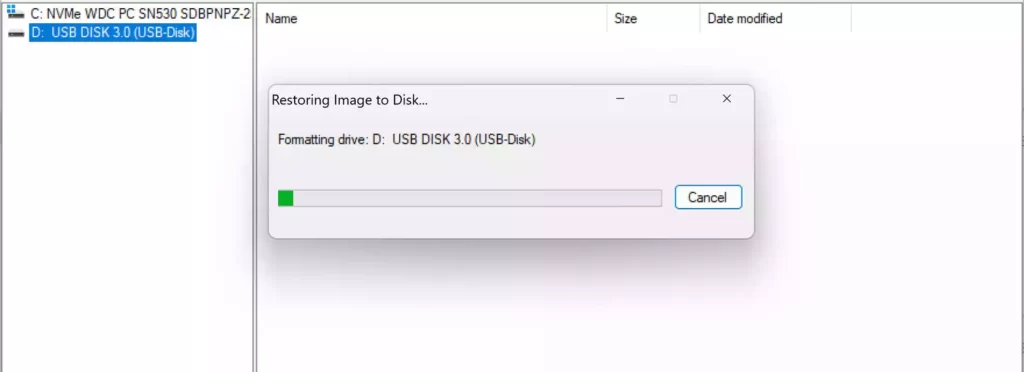
Step 13. After reading the warning, click Yes.
Step 14. Wait for the operating system to be copied to the USB, and you are ready.
Once it’s done, your macOS Ventura bootable USB will be ready. Insert it into your Mac, hold the options button, restart your computer, and install macOS Ventura on your Mac.
Final Words
I hope you found this guide on creating a bootable USB drive for macOS Ventura on your Windows system useful and simple. Finally, if you encounter any issues, please share them in the comments section below.
If you don’t have a Mac and want to try macOS Ventura, you can install your Windows PC in VirtualBox or VMware Workstation. To do so, open the guides listed below.