Apple announced macOS Monterey on October 30th, 2021. The new macOS Monterey update adds many new features to the desktop. Apple has changed the Finder window to look more like its mobile operating system. This makes the desktop interface easier to use and more up-to-date. Users can choose between grid and list views to control their folder and file display. This update includes a new app dock, notifications, window management tools, and a few new apps, such as News.
As a result, I’m sure most of you are eager to try out Apple’s operating system, macOS Monterey. Installing macOS Monterey on a Mac is simple, but if you want to try this massive operating system on a Windows PC, you will need to make some adjustments, but you will be able to use it. Continue reading to learn how to install macOS Monterey in VMware Workstation on a Windows PC. We’ve also provided links to download the VMware macOS Monterey ISO file, the VMware macOS Unlocker, and the official VMware.
Table of Contents
Step 1. Download the macOS Monterey ISO
Before installing macOS Monterey in VMware, you must first download the ISO file. This file will be required later in the process. Once you have the ISO file, you can move on to the next step of installing macOS Monterey. We have listed the download link below:
Download macOS Monterey ISO Image
Step 2. Download and Install VMware Workstation Pro or Player
After downloading the macOS Monterey ISO file, you must install VMware Workstation on your Windows PC. VMware Workstation is a popular hypervisor or virtualization software. It lets system administrators and power users run multiple virtual PCs at the same time on a single physical computer. If you don’t know how to install them, here’s a step-by-step guide.
Download and Install VMware Workstation on Windows PC
Step 3. Enable Virtualization on Your Windows PC
VMware-created virtual machines benefit from the increased performance provided by today’s CPUs’ hardware virtualization features. Some computers require you to enable this feature before you can use it. So, if you want performance while avoiding errors, you should enable virtualization on your Windows PC or laptop. To learn more about Virtualization and how to enable it, go to the link below:
Enable virtualization on your Windows PC
Step 4. Add macOS to Supported Guest Operating Systems in VMware
By default, macOS does not appear in VMware’s list of guest operating systems. To add macOS to the list of supported guest operating systems, you need to run the macOS Unlocker for VMware on your PC.
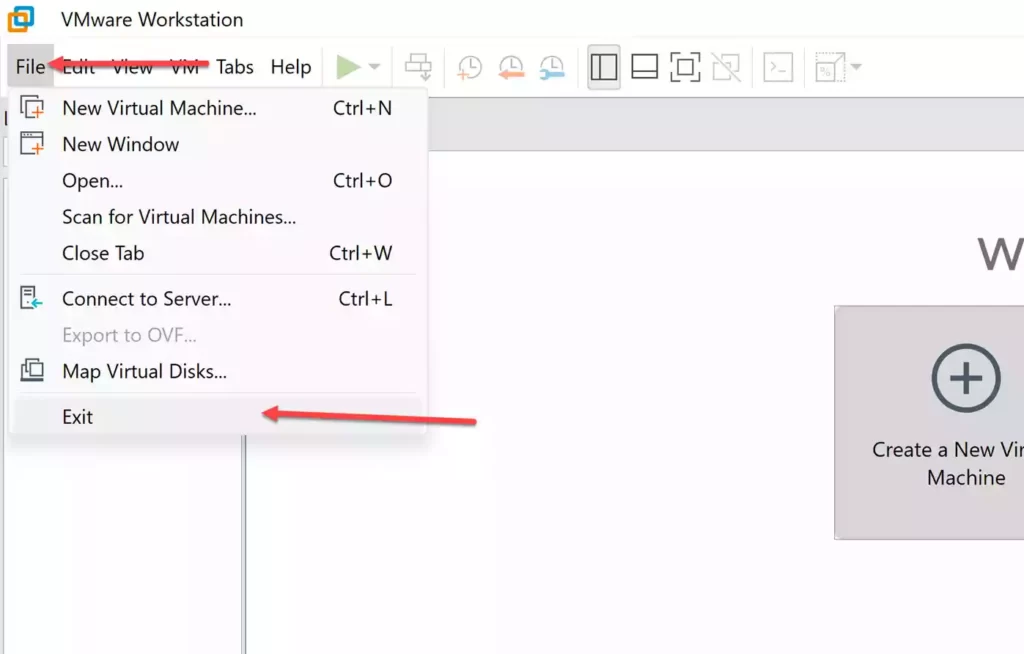
- To begin, close the VMware Workstation Pro/Player by going to the File menu and selecting Exit.
- Then, download macOS Unlocker for VMware from here.
- Next, open the downloaded file and extract it.
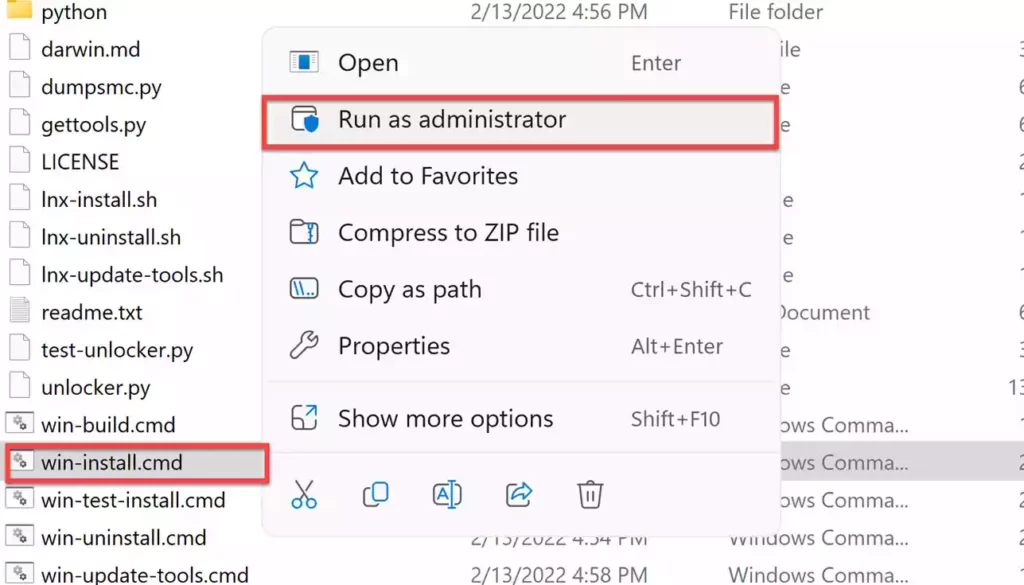
- Right-click win-install.cmd and select Run as Administrator.
Step 5. Create a New Virtual Machine for macOS Monterey on VMware
The fifth step to install macOS Monterey in VMware is to create a new virtual machine for it in the VMware Workstation. For that, follow the steps below:
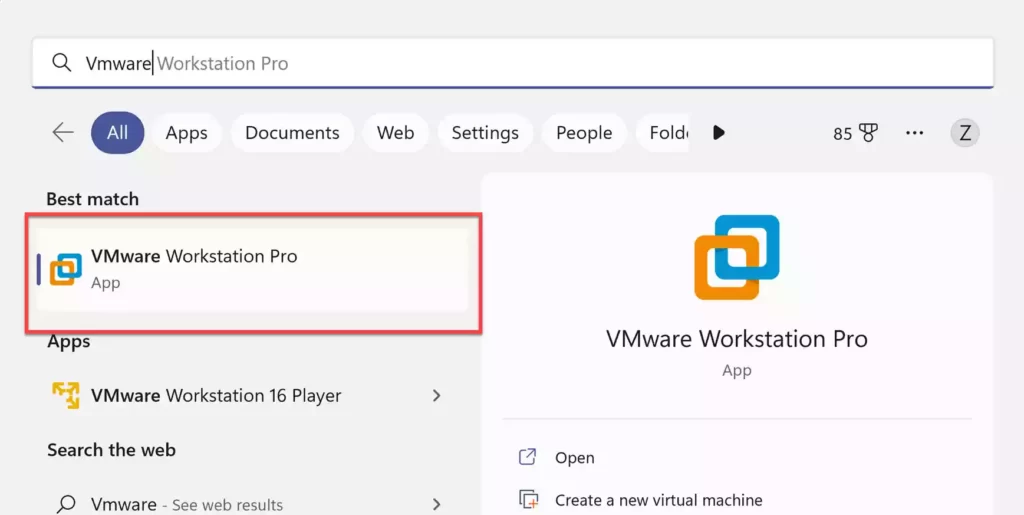
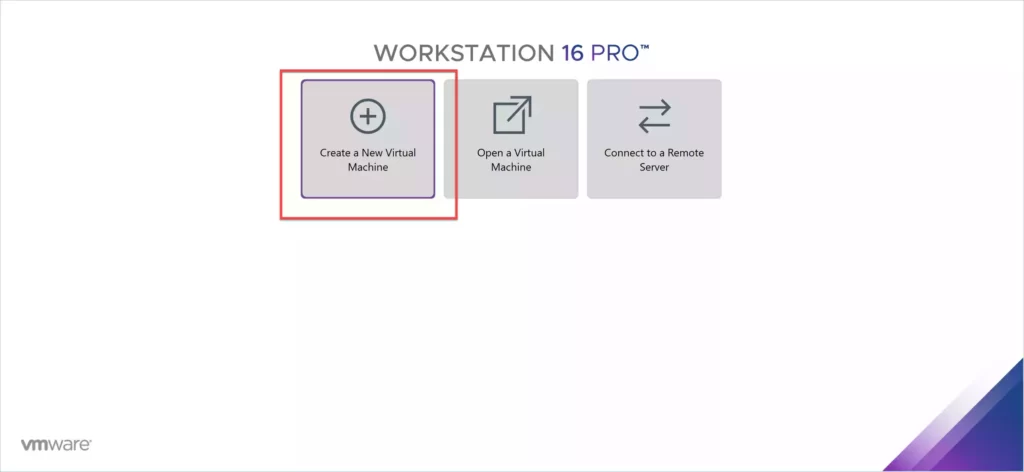
- Open VMware Workstation by searching for it in the Start menu.
- To create a new virtual machine for macOS 12 Monterey, click Create a New Virtual Machine or press “Ctrl + N“.
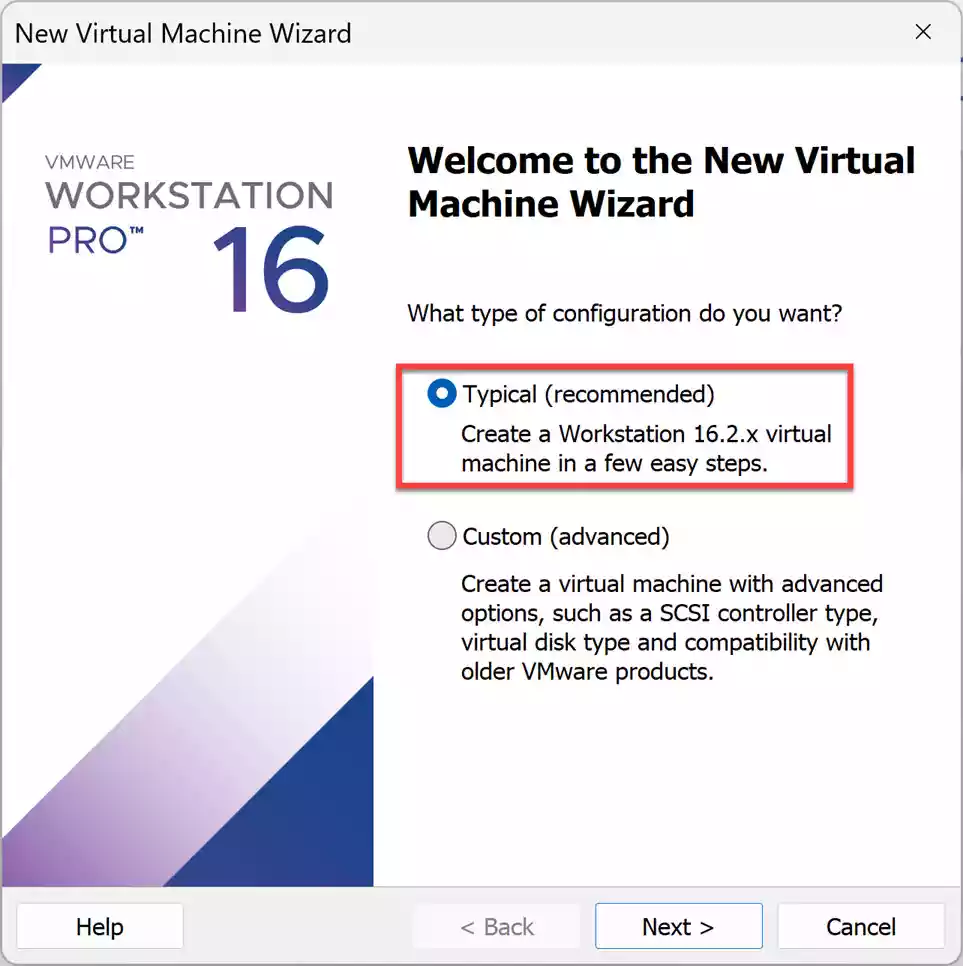
- Select Typical (recommended) as the type of configuration.
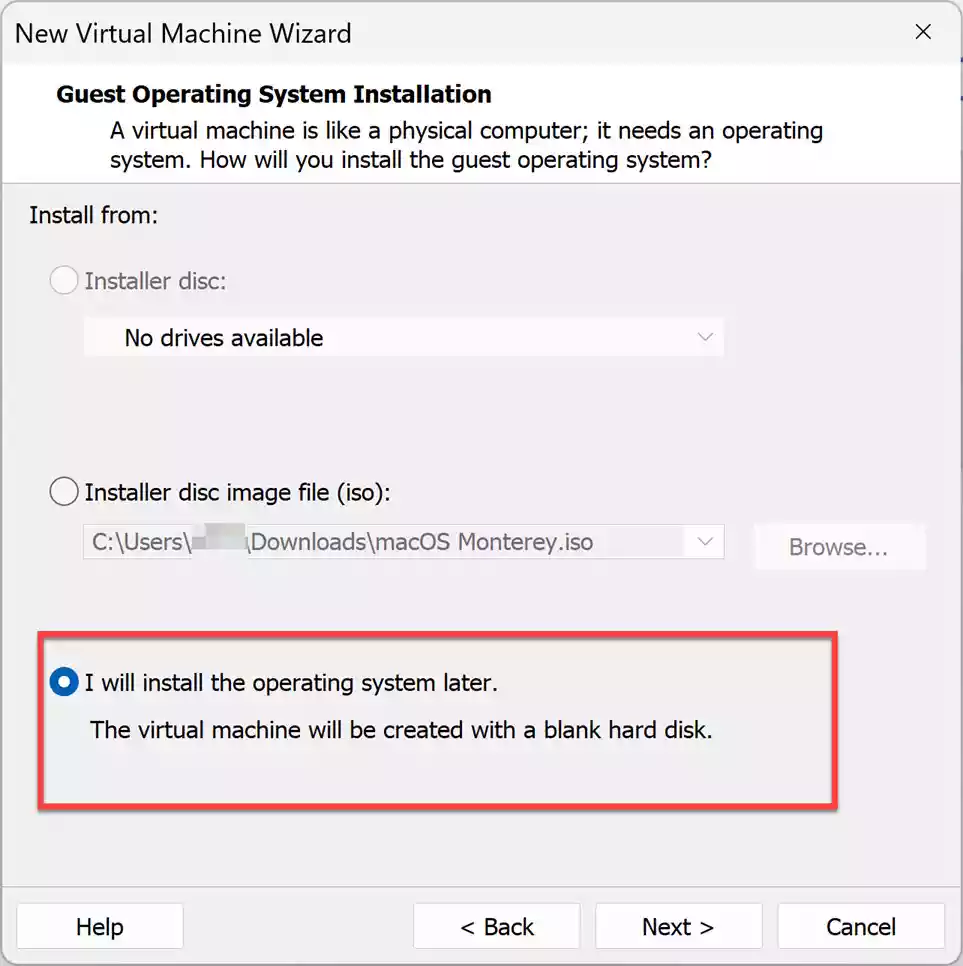
- The next step is to decide how you want to install the guest operating system. Select “I will install the operating system later” and click Next.
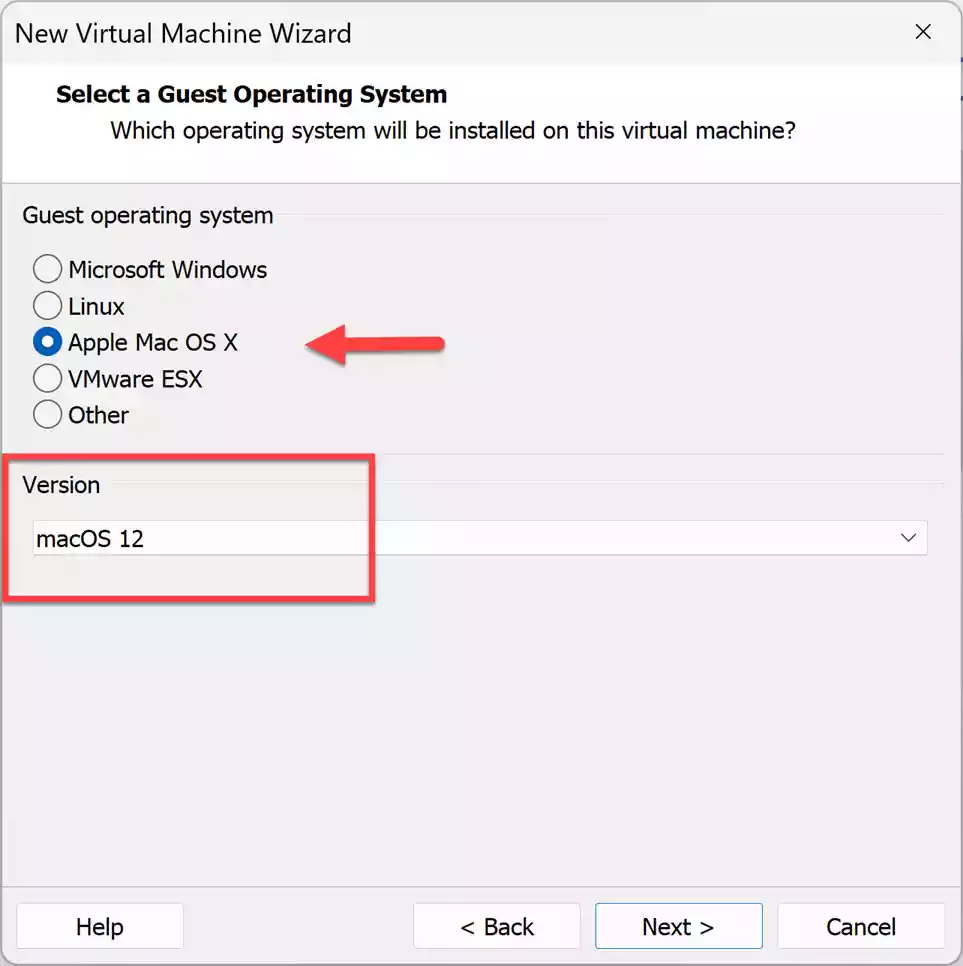
- Find and select Apple Mac OS X from the operating system list, and tap on macOS 12 to continue.
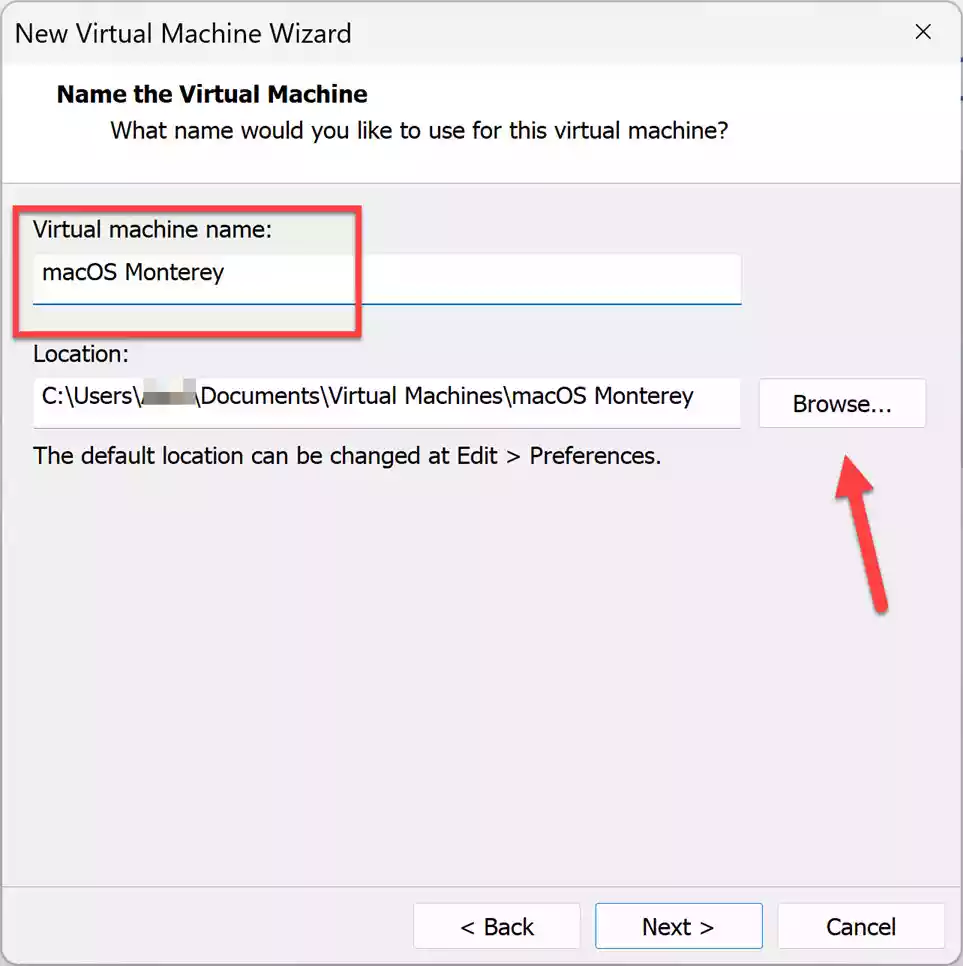
- Now, enter a name for the new virtual machine, for example, macOS Monterey. Then, select a location to save virtual machine files by tapping on Browse.
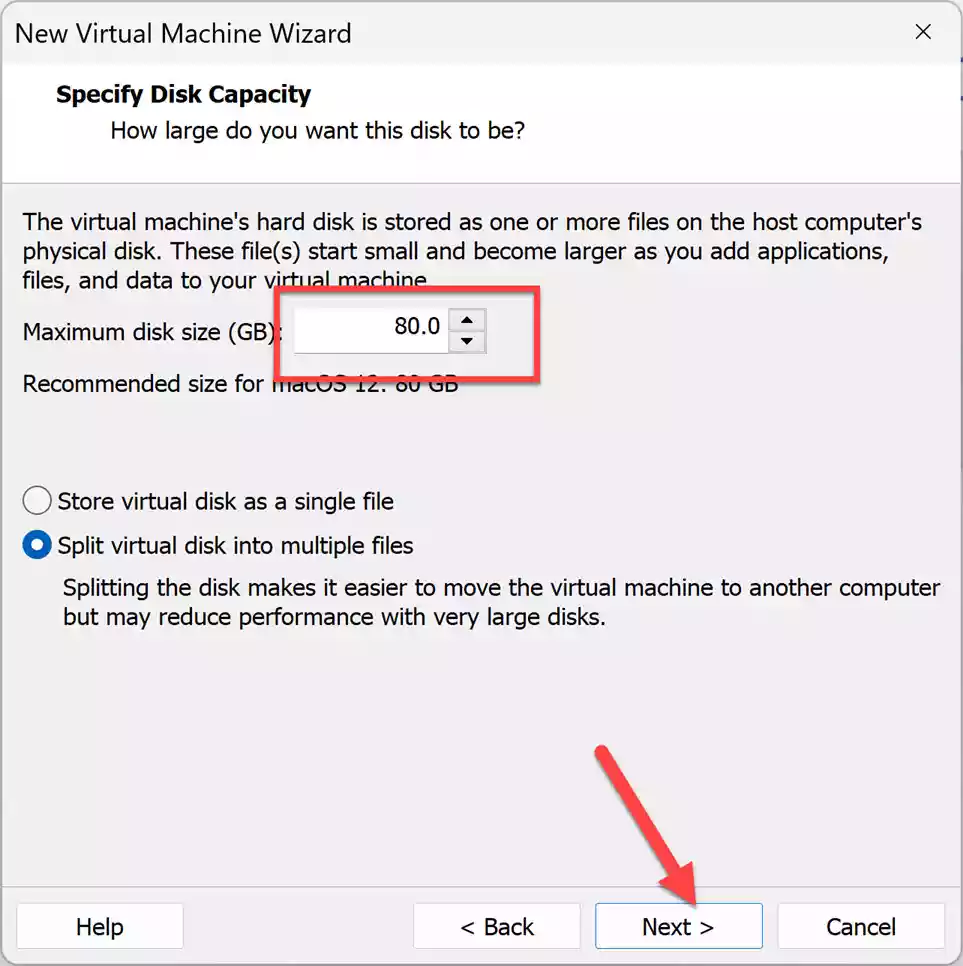
- Here, select the disk capacity (80 GB or greater) for the virtual machine and check the box labeled “Store the virtual disk as a single file.”
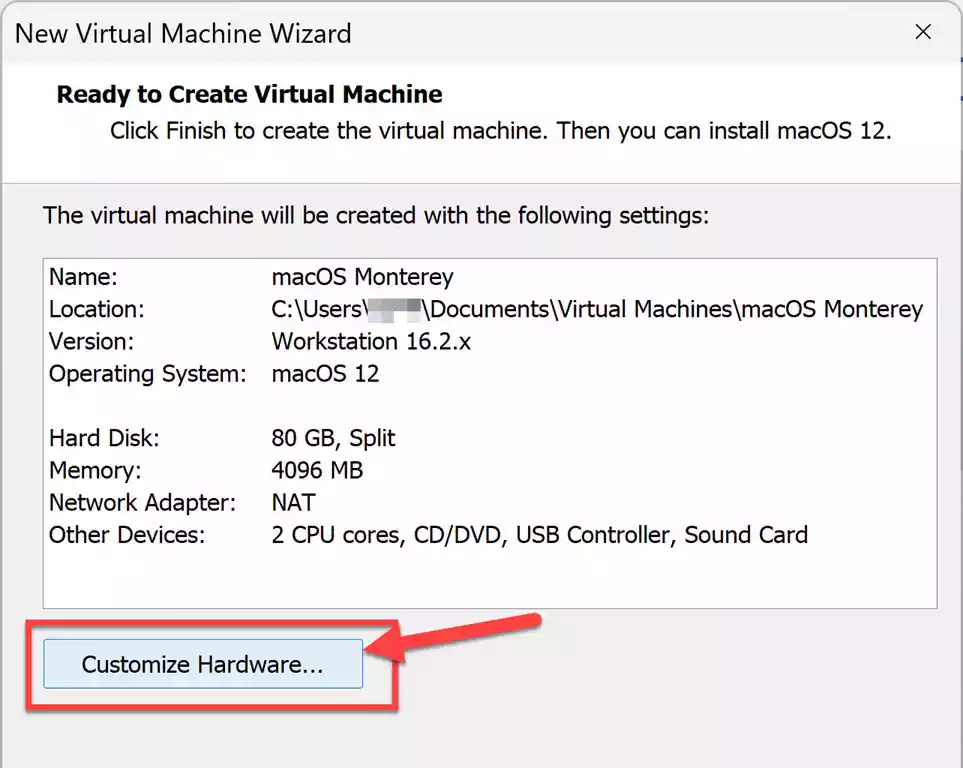
- Then, tap Customize Hardware for further customization.
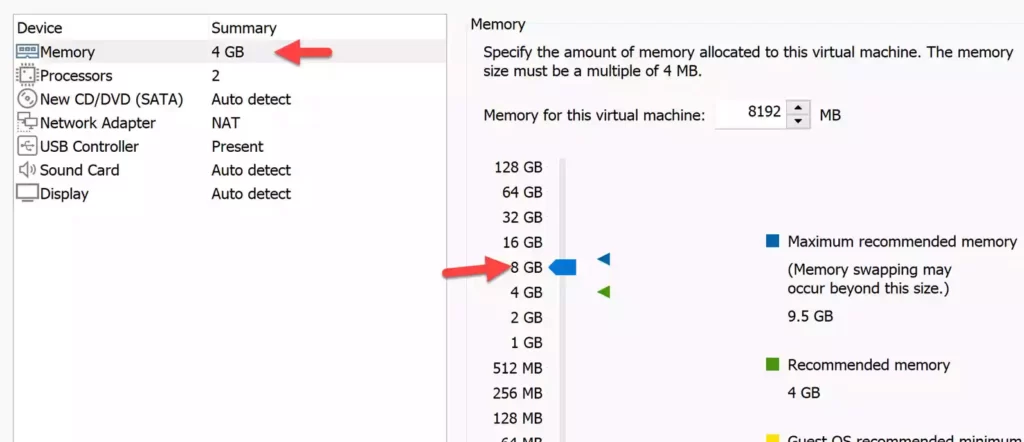
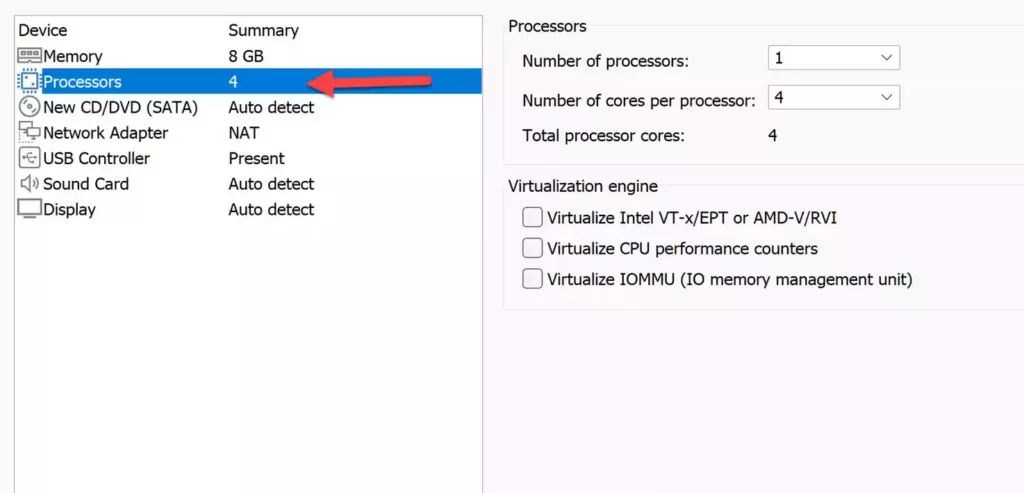
- Increase the memory from 4 GB to 8 GB or higher if you want better performance.
- Then click on the Processors tab, and increase the CPU processor core count from two to four or more.
- Go to New CD/DVD (SATA) from the left menu, tap Use ISO image file and click Browse.
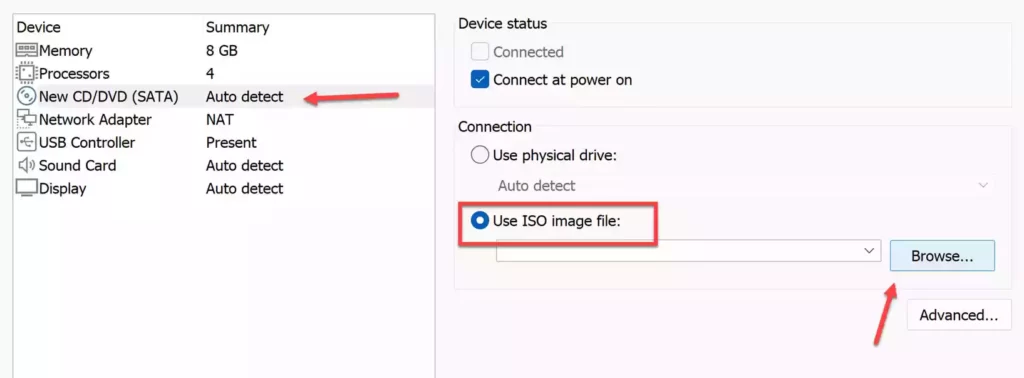
- Now, find and open the macOS 12 (macOS Monterey) iso file.
- After adding the macOS Monterey ISO, click Close to save your changes.
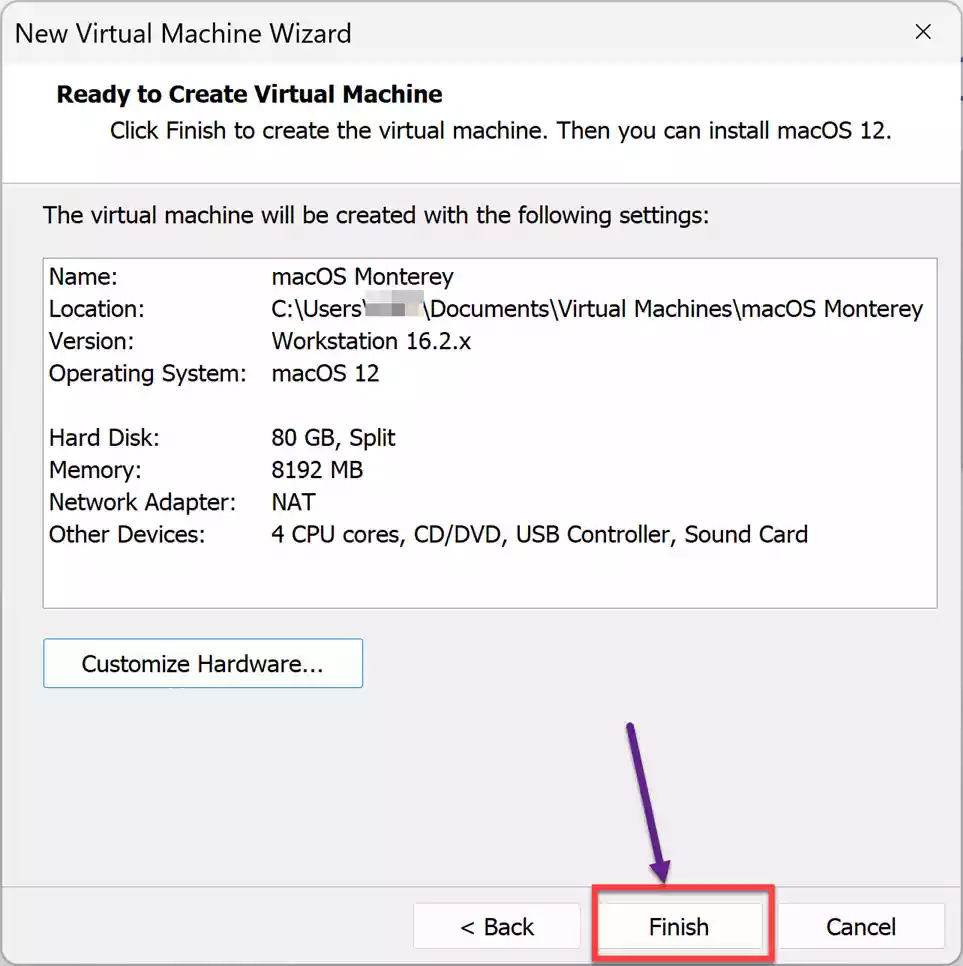
- Finally, press the Finish button, and you are done creating a new virtual machine for macOS Monterey in VMware.
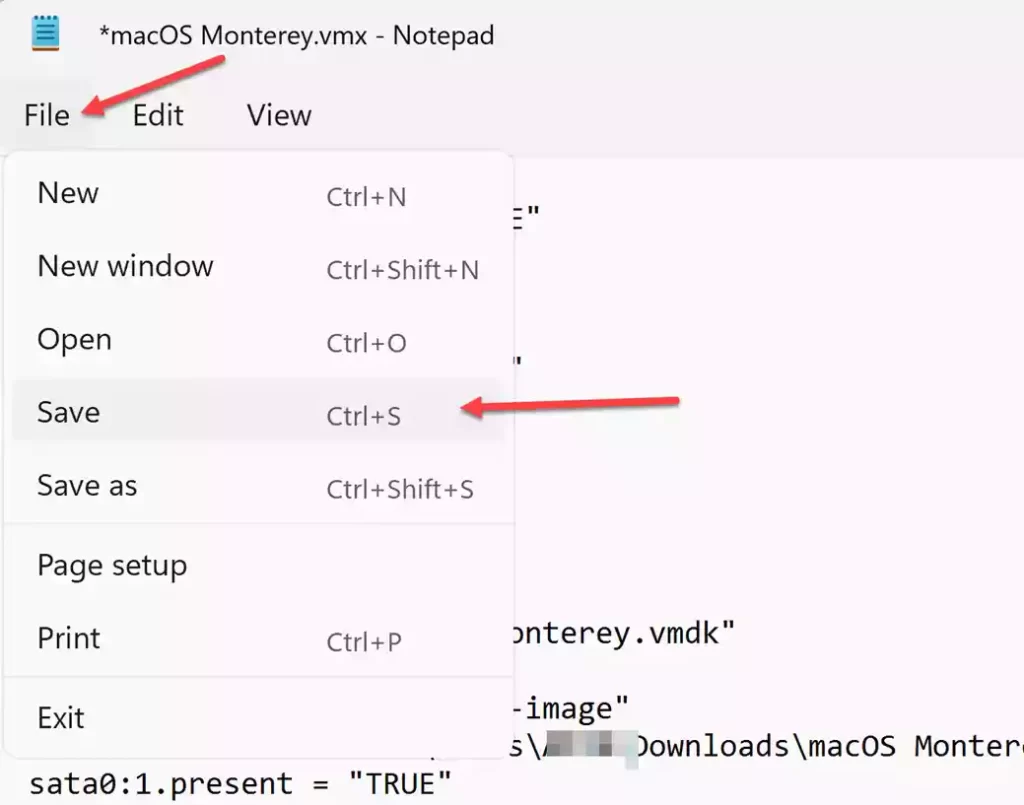
Step 6. Edit the macOS Monterey VMX file
- To do so, go to the virtual machine folder you specified earlier in this guide. The default location is Document > Virtual Machine if no new location is specified.
- Right-click and open the macOS12.vmx file with Notepad or another text editor.
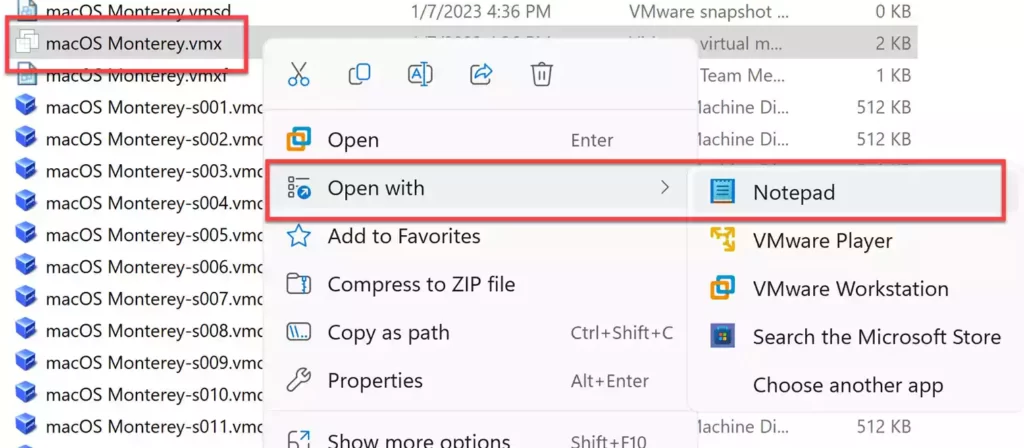
- Now, add the code below to the bottom of the text.

smc.version = "0"
- Finally, go to the File menu and select Save.
Step 7. Install macOS Monterey on VMware on Windows PC
After completing the previous six steps, this is the final step in installing and running macOS Monterey on a Windows PC using VMware. So let’s begin the installation.
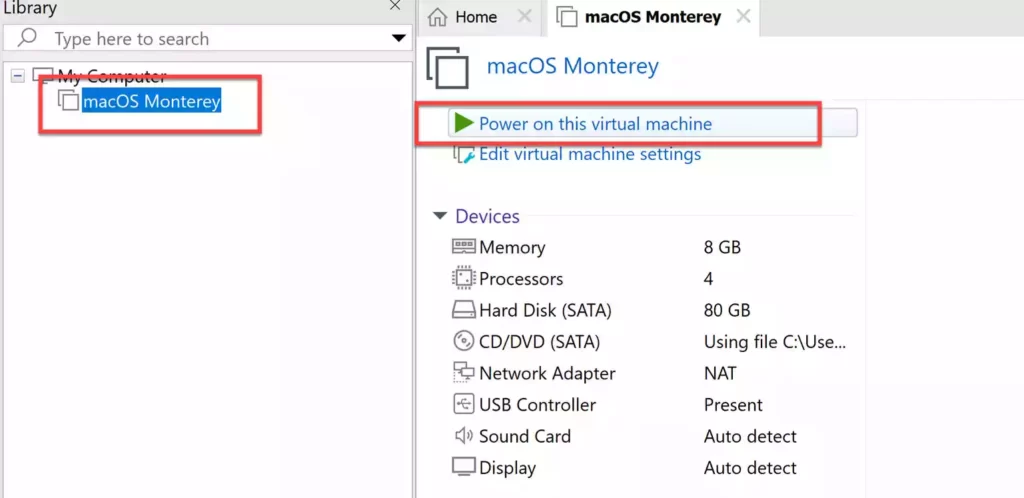
- Open the VMware application, select Power on this Virtual Machine in the macOS Monterey VM panel, and wait for it to boot up.
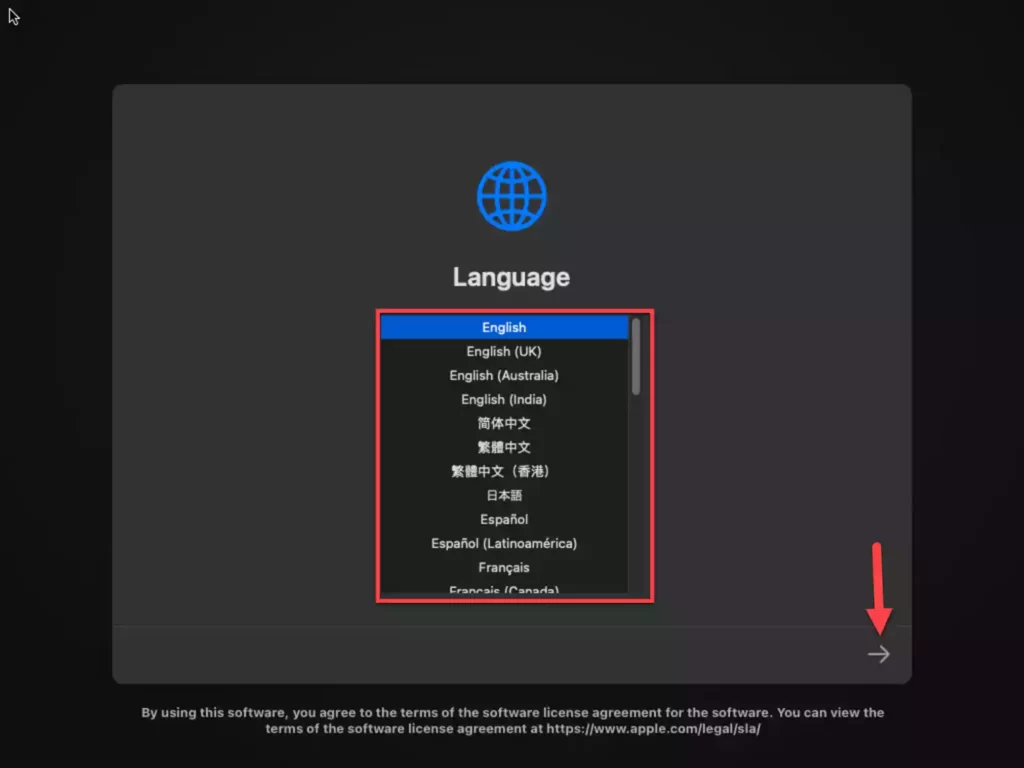
- Choose your preferred language from the language screen.
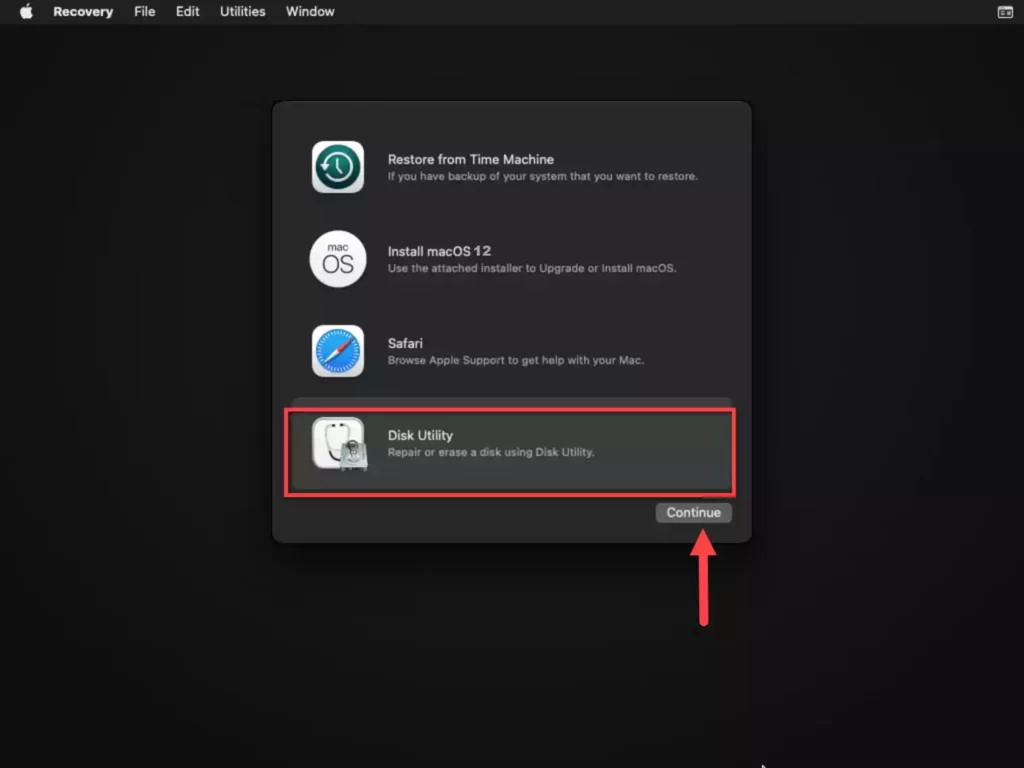
- Tap on the Disk Utility to erase the virtual hard disk for macOS Monterey.
- Select VMware Virtual SATA Hard Drive Media from the left and tap Erase.
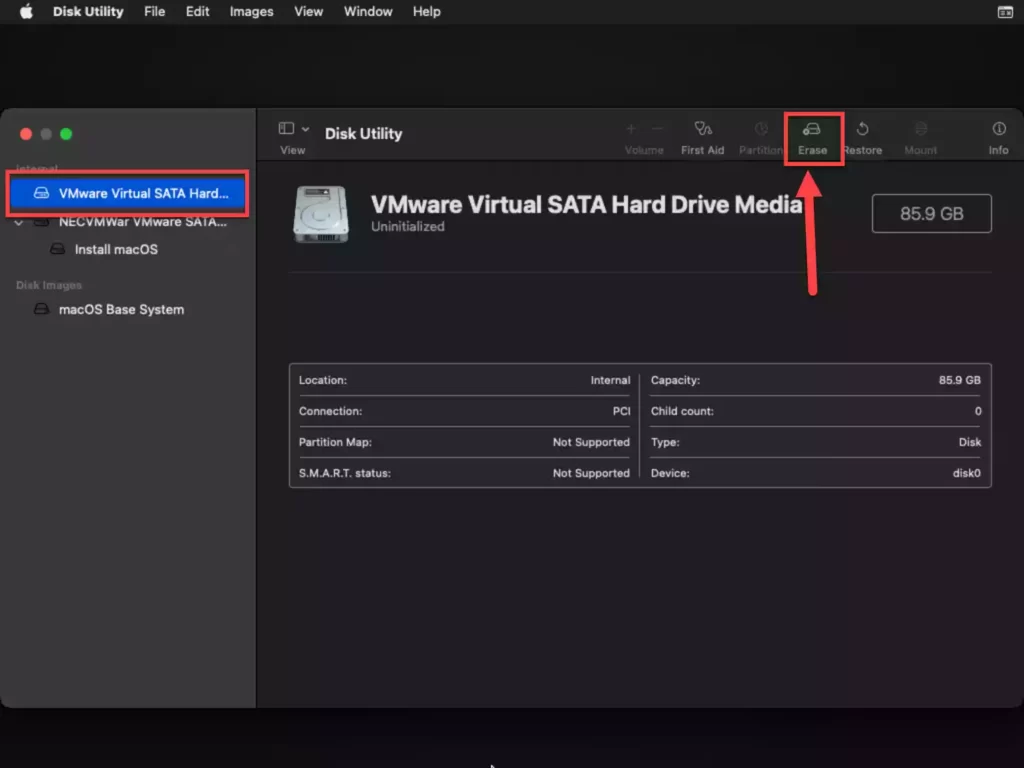
- Enter macOS12HD as the name, then choose APFS from the Format drop-down menu and click Erase.
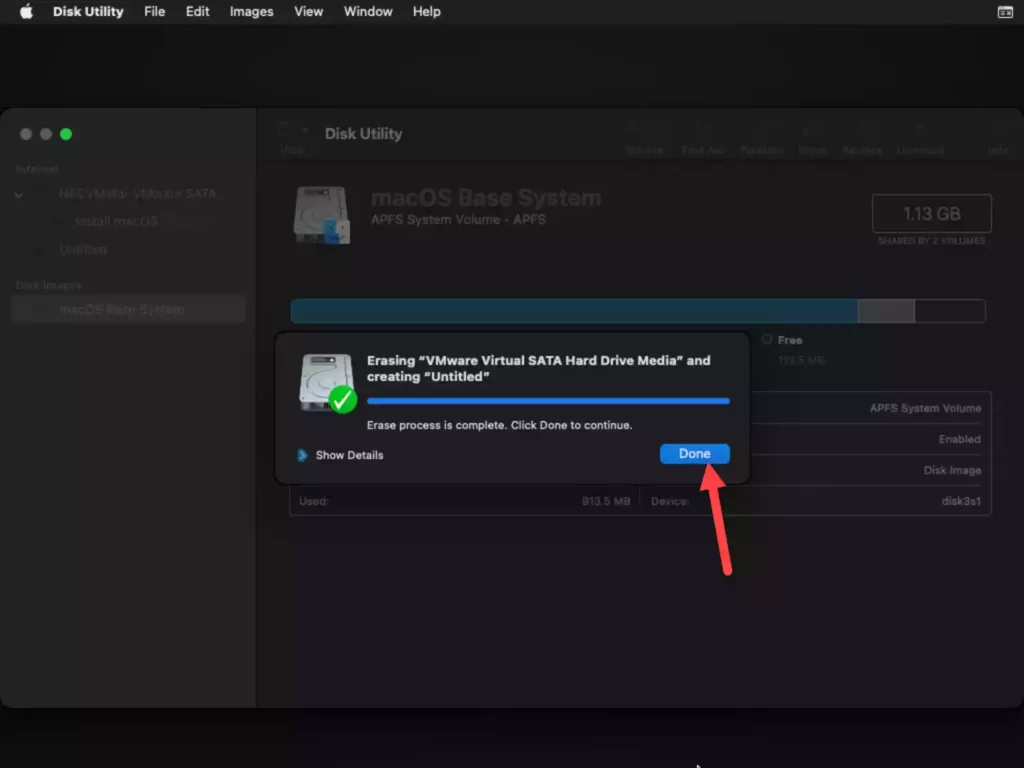
- When the erasing is done, close the Disk Utility window.
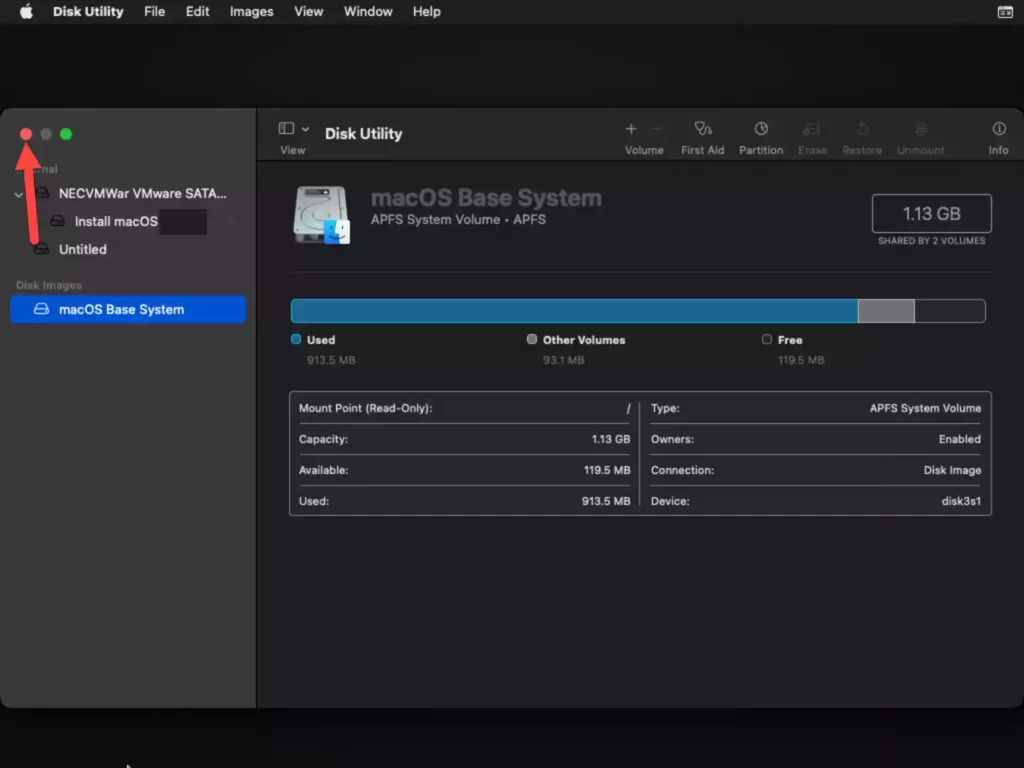
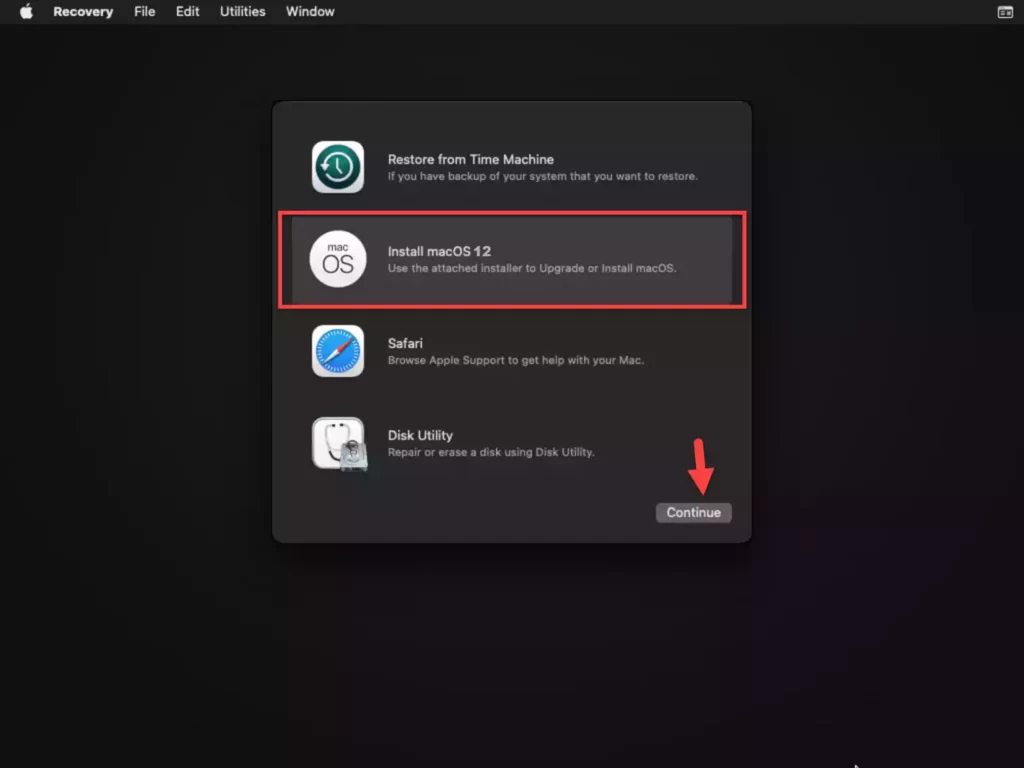
- Now, select Install macOS 12 and tap on Continue.
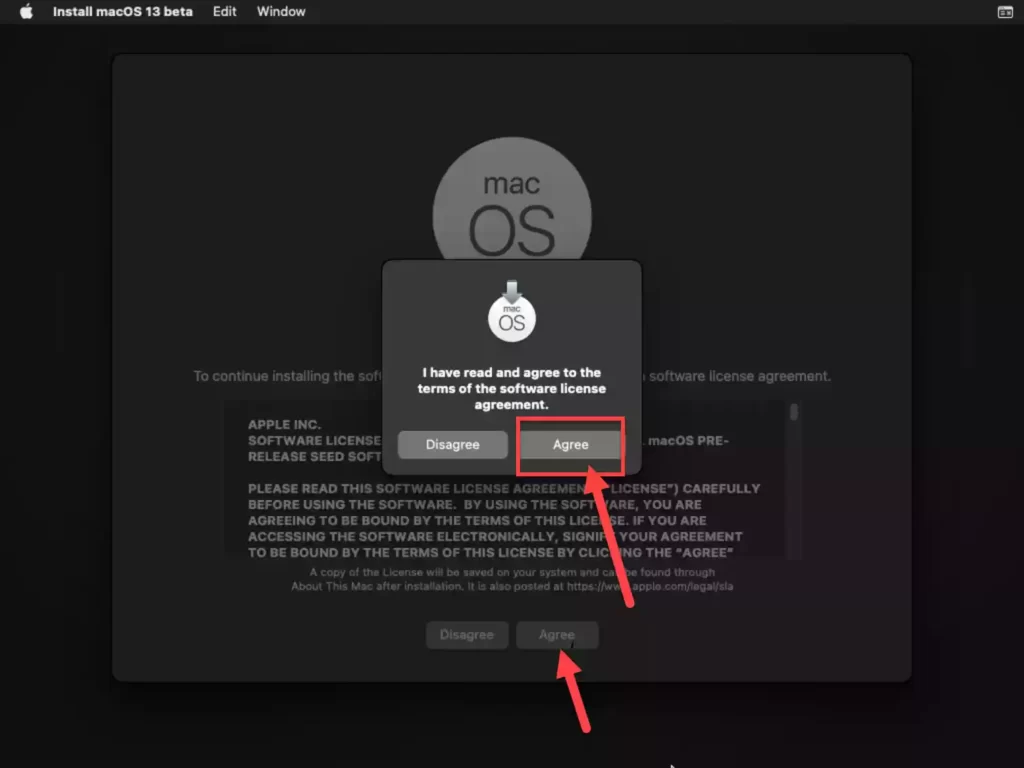
- Agree to the terms and conditions of the software licensing agreement.
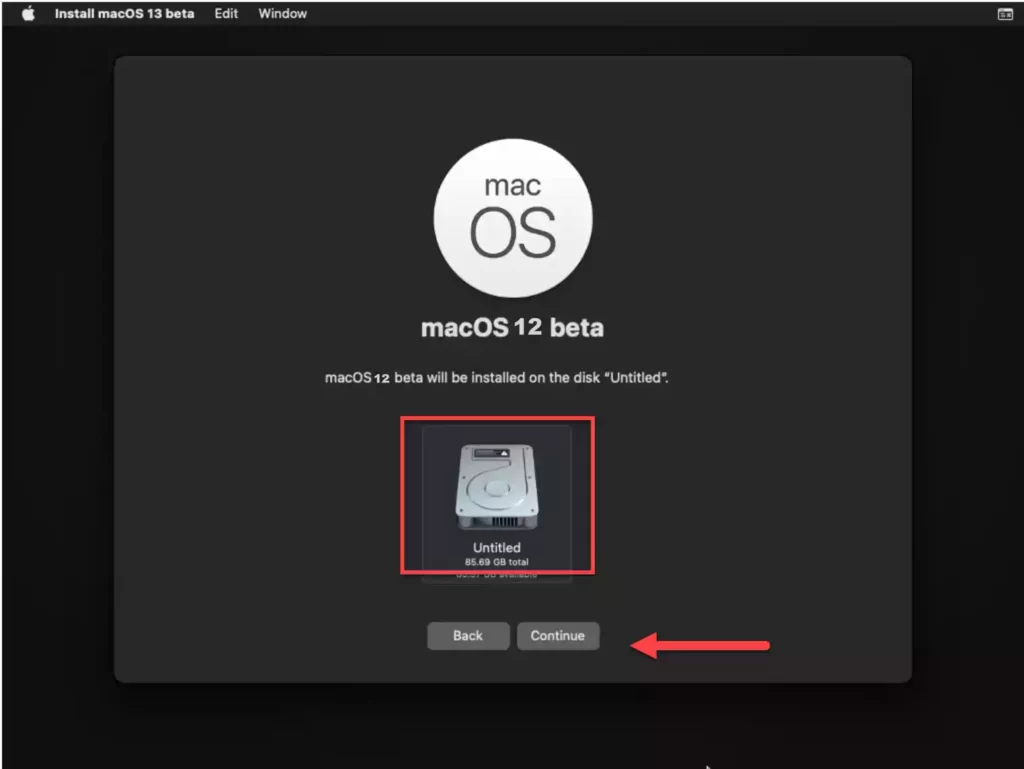
- Then, select the available disk and click Install.
- The installation of macOS Monterey will be complete after two or three restarts. Depending on your system, it could take 15 to 30 minutes.
Complete Basic macOS Account Settings
After the installation is complete, it’s time to set up some basic account settings according to your preferences.
- Select your preferred language for the macOS.
- Select your preferred country of residence. After selecting it, the keyboard will also be used in the country’s language.
- In order to make your Mac more user-friendly, you can adjust the accessibility settings. Turn it on if you’ll be using it; otherwise, skip it.
- Select My computer cannot connect to the internet.
- After reading Data & Privacy, click Continue.
- As we’re performing a clean installation, we don’t need the migration tool. So select “Not now.”
- Agree to macOS terms and conditions.
- Here, create an account on macOS Monterey and choose a password.
- Screen Time lets you see weekly reports, active and inactive app usage, and more. Get to the next section if you don’t want to use this feature.
- If you want to use Sir, click continue. Otherwise, uncheck the box.
- In the end, choose a theme for macOS Monterey or macOS 12, then click Continue.
Pro tip: If you want macOS Monterey to run quickly and smoothly on VMware on your PC, you should install the VMware Tools.
Final Words
That’s it! These are the steps to install macOS Monterey in VMware Workstation Pro/Player on a Windows 10 or 11 PC or laptop. If you have any questions or have any problems, please leave them in the comments section. Also, if this guide does not work for you, try installing macOS Monterey in VirtualBox.
We also have step-by-step instructions on how to install the latest Mac operating system, macOS Ventura, in VirtualBox or VMware. Be sure to check them out too.